



Building a Bong Made Easy: A Step-by-Step Guide

The most important points at a glance:
Materials and tools for building a bong
Discover which materials and tools you probably already have at home to prepare everything for building your own bong.
Learn more
Step by step to your homemade bong
Learn step by step how to build your own bong with simple materials and tools and enjoy an optimal smoking experience!
Learn more
Tips and tricks for a better bong
Find out how you can improve your smoking experience with simple tricks and get the most out of your homemade bong!
Learn more
4. Answers to the most common questions
Answered directly – plus the legal situation and which accessories fit.
Learn more
How do you build a bong yourself?
Building a bong yourself is quickest as a bottle bong. You need an empty bottle, a short tube as a chillum and a head made of a metal sieve or aluminium foil. Drill a hole in the side, insert the tube airtight, seal everything with modelling clay and fill in water to just above the lower end of the tube. In a few minutes your homemade bong is ready.
Have you ever wondered how you can build your own bong? Then you're in exactly the right place. In this blog article, we'll show you step by step how to build your own bong with simple means and a little skill. Whether you're a beginner or already have experience, this guide will help you optimise your personal smoking experience. So grab your materials and let's get started!
The art of bong building is not only a fun DIY project, but also an inexpensive way to create an individual water pipe. With our guide, you'll soon know how to make a bong from a plastic bottle, a ballpoint pen and other household items. And don't worry, we'll explain everything so that you can't do anything wrong. Are you ready? Then let's dive into the world of bong building and discover how to create your own homemade bong!
Materials and tools for building a bong
Before you start building your own bong, you should make sure you have all the necessary materials and tools to hand. Don't worry, you'll probably find most things at home already. Here is a list of the basic equipment you need:
Materials:

Plastic bottle:
An empty plastic bottle serves as the body of the bong. The larger the bottle, the more smoke it can hold.

Ballpoint pen (metal):
You use this as a chillum to channel the smoke into the water.
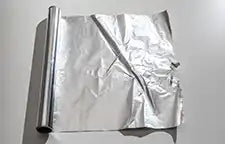
Aluminium foil:
This is used as a makeshift bong head, in which you place the herb or tobacco.
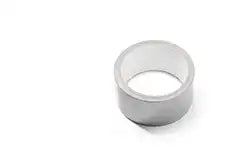
Adhesive tape:
For sealing and securing the parts.
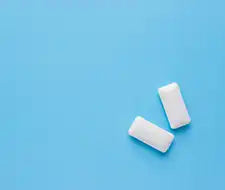
Chewing gum or adhesive tape:
For sealing holes and connections.
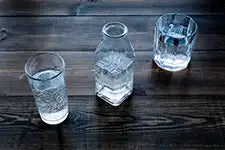
Water:
For filling the bottle and cooling the smoke.
Tools:
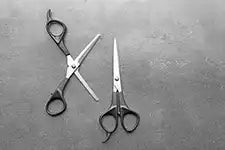
Scissors or knife:
For cutting holes into the bottle.
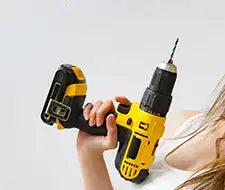
Drill (optional):
For more precise holes, especially if you use thicker materials.
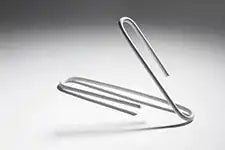
Paper clip or a piece of wire:
To secure or adjust the chillum or other parts.
Additional materials (optional):
Glass bottle: For a more stable and durable bong.
Sieve: To keep the herb or tobacco in the head and prevent ash from getting into the water.
Lighter: For lighting the herb or tobacco.
Tobacco or cannabis: Your smoking experience is of course determined by the herb or tobacco of your choice.
Once you have everything together, you can start with the actual build. In the next section, we'll show you how to build your own bong step by step from these materials.
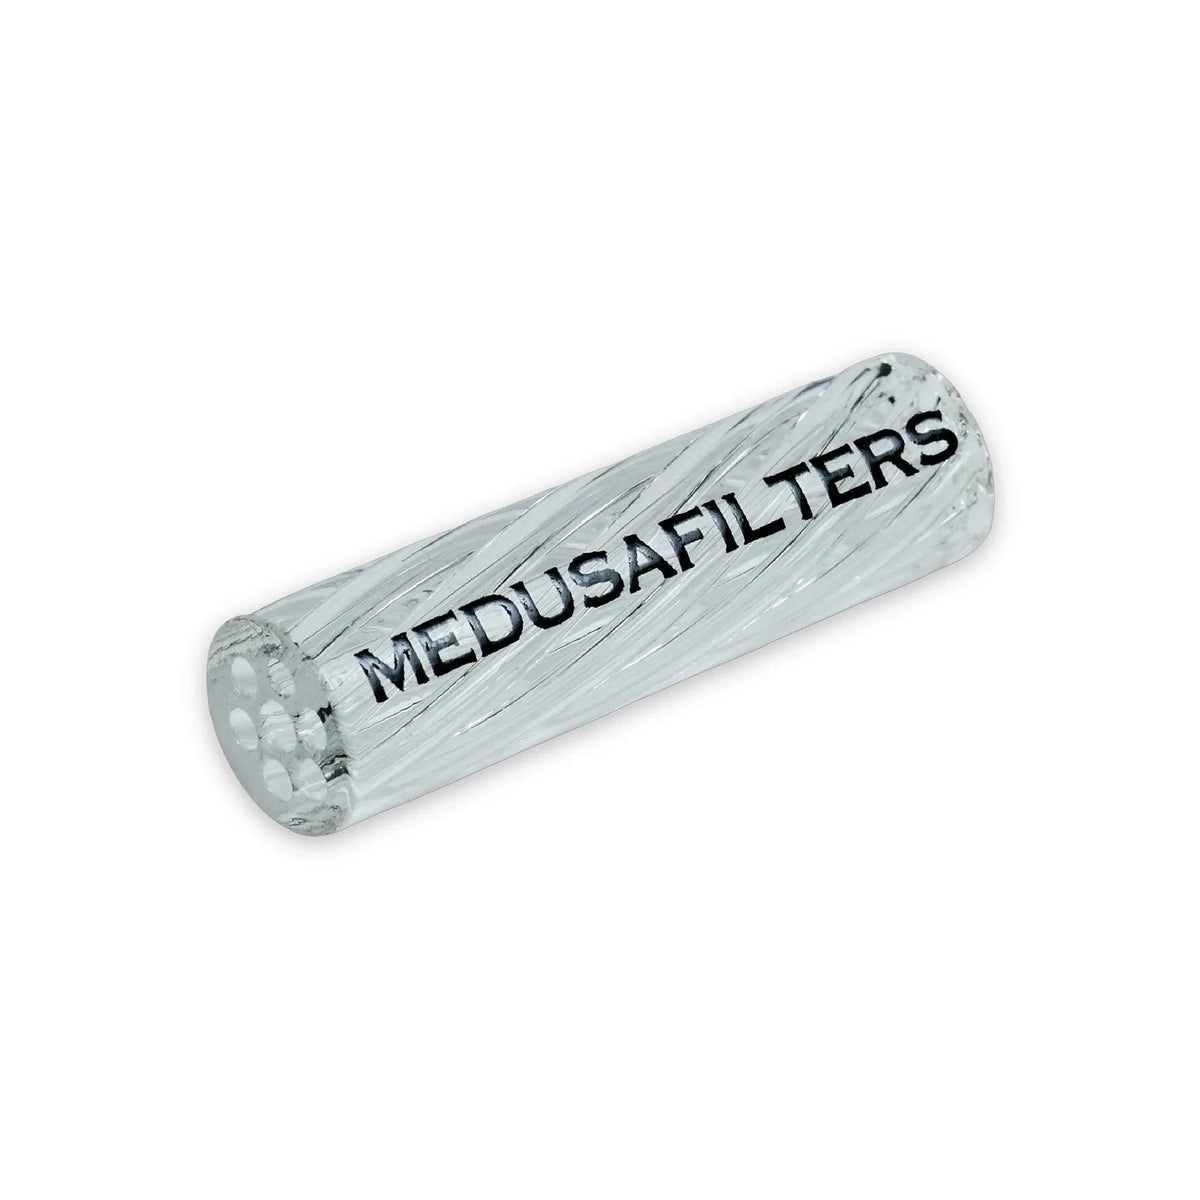
The right accessories from Medusafilters


Step by step to your homemade bong
Now it's time to get down to business! Here we show you how to build your own bong using the materials and tools mentioned above. This simple guide takes you through the process step by step.
Step 1: Preparing the bottle
Take an empty plastic bottle and remove the label. Rinse the bottle thoroughly to make sure there are no residues. Hygiene is important, because you don't want to inhale any unwanted chemicals. Cut a small hole in the side of the bottle, about halfway up. This hole should be big enough to fit the ballpoint pen (or a similar tube), but not so big that it wobbles.
Step 2: Inserting the chillum
Remove the refill and the ends of the ballpoint pen so that you only have the metal tube left. This will be your chillum. Insert the tube into the hole you cut into the bottle. Use chewing gum or adhesive tape to fix the tube in place airtight. It's important that the chillum sits firmly so that no smoke escapes and everything stays stable.
Step 3: Shaping the head from aluminium foil
Shape a small head from a piece of aluminium foil that fits onto the end of the chillum. Press the foil firmly together and form a small hollow in which you can place the herb or tobacco. The head should be stable enough not to fall apart during use. A well-shaped head is crucial for an even combustion of the material.
Step 4: Filling in water
Fill the bottle with water until the chillum is about halfway submerged. The water cools and filters the smoke, making your smoking experience more pleasant. Make sure the water level is not too high, otherwise water could get into your mouth. The right water level is crucial for optimal cooling and filtering of the smoke.
Step 5: Adding a carb hole
Cut a small hole in the side or back of the bottle, just above the water line. This hole serves as a carb hole and lets you control the smoke flow. The carb hole should be positioned so that you can comfortably cover and open it with one finger. A well-placed carb hole provides better control and a more pleasant smoking experience.
Step 6: Testing and enjoying
Fill the head with your herb or tobacco, hold the carb hole closed and light the herb. Inhale through the mouthpiece and release the carb hole to release the smoke. The smoke should now reach your mouth filtered and cooled by the water. Enjoy your homemade masterpiece! Make sure all connections are tight and no smoke escapes to achieve the best result.
With these steps, you've built your own bong in no time. Remember that you can be creative and try out different materials to improve your bong even further.
Tips and tricks for a better bong
Now that you know how to build a simple bong, there are a few tricks that can improve your smoking experience even further. These tips help you get the most out of your homemade bong while paying attention to quality and safety.
1. Optimising materials
While plastic bottles and ballpoint pens work well to start with, using higher-quality materials can significantly improve your experience. Glass bottles, for example, are not only more stable but also flavour-neutral, which means you can enjoy the pure taste of your herb. Also use high-quality grinders, for example, to prepare your herb perfectly. Finely ground herb burns more evenly and provides a better smoking experience. In addition, using activated carbon can help to filter the smoke and thus ensure an even smoother smoking experience. You can also find these products at Medusafilters.
2. Adjusting the water level
The water level in your bong plays an important role in the smoking experience. Experiment with different water levels to find the best point for you. Too much water can cause you to get water in your mouth, while too little water doesn't cool the smoke sufficiently. A good rule of thumb is to submerge the chillum about halfway into the water.
3. Using the carb hole correctly
The carb hole is a small but important detail of your bong. Learn to use it correctly to control the smoke flow. Keep the hole closed while lighting and release it when you want to inhale the smoke. This way you can control the intensity of your hit and adjust your smoking experience.
4. Using a sieve
A small sieve in the head of your bong prevents ash and small particles from getting into the water. This not only improves the filtering but also keeps the water cleaner.
5. Cleaning and care
Regular cleaning is crucial for a good bong. Residues of burnt herb and dirt can impair the taste and reduce the efficiency of your bong. Use special bong cleaning agents or simple home remedies such as vinegar and baking soda to keep your bong clean. A clean smoke path provides a better smoking experience and extends the life of your bong.
6. Experimenting with different herbs
While many use classic herbs such as cannabis, you can also try out other herbs. Peppermint, sage or camomile can be interesting alternatives and offer different aromas and effects. Make sure the herbs are well dried to ensure even burning. A clean smoke path provides a better smoking experience and extends the life of your bong.
Building a bottle bong yourself: step by step
The bottle bong is the classic among DIY bongs: you build it in under ten minutes from an empty bottle, a tube and some sealant.
- Take a sturdy plastic or glass bottle and empty it completely.
- Drill or cut a hole in the side, in the lower third, that exactly matches the diameter of your tube.
- Push a chillum or a short metal or glass tube diagonally downwards into the hole.
- Seal the transition all around airtight with modelling clay or sealing tape.
- Place a head made of a metal sieve or shaped aluminium foil with fine holes on top of the tube.
- Fill in water until the lower end of the tube is submerged by one to two centimetres.
- Check the tightness by pulling on the bottle neck – there should be noticeable resistance.
The more cleanly the transitions are sealed, the better the homemade bong draws. Too large a water volume slows the draw, too little water barely filters – the rule of thumb: the end of the tube should only just be submerged. If you like the smoke noticeably cooler, put the bottle in the fridge briefly before drawing or add a few ice cubes to the chamber.
DIY bong: which materials do you need?
For a DIY bong you only need a few everyday items: a container, a tube, a head and a seal.
The basis is an airtight container – a PET bottle, a screw-top jar or a thick-walled glass bottle. Suitable as a tube are a chillum, an aluminium tube or a glass tube; glass is flavour-neutral and the cleanest choice. For the head you use a fine metal sieve, a metal sleeve or – as a last resort – aluminium foil pierced several times. Sealing is done with modelling clay, hot glue or sealing tape.
- Container: PET or glass bottle, clean and dry
- Downstem/tube: chillum, glass or metal tube
- Head: fine metal sieve or shaped aluminium foil
- Seal: modelling clay, sealing tape or hot glue
- Tool: drill, pointed knife or hot nail for the hole
Many advise against pure plastic or aluminium constructions at the hot spot – glass and stainless steel are considered the more pleasant materials for the direct smoke path.
Building a bong yourself: video or step-by-step guide?
Many people look for a video on building a bong – but for the simple bottle bong, a clear step-by-step guide is usually enough.
A video helps above all with sealing and shaping the head, because you can see the movements directly. The actual steps, however, are always the same: drill the hole, insert the tube, seal, put on the head, fill in water. When you watch a video, pay attention to three things: how airtight the tube sits, how fine the holes in the head are and how high the water level is. These three points determine whether your homemade bong draws cleanly. For a reproducible build, the written guide above is often more practical, because you can work through each step at your own pace and jump back. It's best to combine the two: first read the guide, then look up a short clip detail at tricky points.
Which alternatives to the bottle bong can you build?
Besides the bottle bong, bongs can also be built from other everyday objects – the best known are the apple, the can and the gravity bong.
- Apple bong: A hollowed-out apple serves as the head and chamber – quickly built, but short-lived.
- Can bong: A dented aluminium can with holes; cheap, but aluminium at the hot spot is controversial.
- Gravity bong: Two bottles or a bottle plus bucket that work via water pressure.
- Jam jar bong: A screw-top jar with two tubes in the lid – stable and reusable.
For regular use, glass and stainless steel solutions are the most sensible choice, because they can be cleaned and stay flavour-neutral. Makeshift variants made of fruit or cans are more suitable for one-time use. Important for all construction methods: only use safe materials on the direct smoke path and avoid plastic or varnished parts at the hot spot.
How do you make the draw cooler and cleaner?
The draw becomes cooler and cleaner above all through more water contact, finer material and an activated carbon filter.
Three adjusting screws make the biggest difference with any homemade bong. Firstly, the fineness of the material: finely and evenly ground material burns more calmly and draws through more easily – an Aluminium Spike Grinder grinds it evenly in seconds without anything sticking to your fingers. Secondly, the cooling: cold water, a few ice cubes in the chamber or a briefly cooled bottle noticeably lower the smoke temperature. Thirdly, the filtering: an activated carbon filter (6 mm) in the smoke path binds part of the particulates and makes the draw smoother and rounder in taste. Also make sure all transitions sit airtight – false air makes the draw hot and scratchy.
Common mistakes when building a bong yourself
Most problems arise from leaky transitions, too much water and unsuitable materials on the smoke path.
The most common mistake is a leaky connection between the tube and the bottle: if false air is drawn in, no negative pressure builds up and the smoke is not drawn through the water. So seal the transition carefully with modelling clay. The second classic is too much water – if the tube is submerged too deeply, the draw becomes hard and you pull water along. The lower end of the tube should only be submerged by one to two centimetres. Thirdly: keep away from plastic, adhesive tape or varnished parts directly at the hot spot. Finally, a cleaning tip: change the water after each use and rinse out the tube and head, otherwise residues settle in and the taste suffers.
Maybe also interesting for you


Frequently asked questions about: building your own bong
Questions keep coming up when building and using a bong. Here are some of the most common questions we're asked, along with the appropriate answers. This way you can make sure your bong experience is always top-notch.
The fastest to build is a bottle bong. You only need an empty bottle, a short tube and some modelling clay for sealing. Drill a hole in the side of the bottle, insert the tube airtight, put a head made of metal sieve on top and fill in water until the end of the tube is just submerged. In under ten minutes the homemade bong is ready to use.
For a bottle bong you need an airtight plastic or glass bottle, a tube as a downstem (chillum, glass or metal tube), a head made of fine metal sieve or shaped aluminium foil and a seal made of modelling clay or sealing tape. Plus a tool for drilling the hole, such as a drill, a pointed knife or a hot nail.
For one-time use, a PET bottle is common; for regular use, glass and stainless steel are considered the more pleasant materials. It's important that there is no plastic, adhesive tape or varnish on the direct smoke path – i.e. on the head and tube. Opt for glass or metal there. That way the taste stays neutral and the build is more stable.
The draw becomes cooler with cold water, a few ice cubes and an activated carbon filter in the smoke path. An activated carbon filter (6 mm) from the medusafilters range binds particulates and makes the draw smoother. In addition, an Aluminium Spike Grinder provides evenly fine material that burns more calmly and draws through more easily. Also pay attention to airtight transitions so that no hot false air is drawn in.
Yes, there are many videos on building a bong, especially the bottle bong. For the simple build, however, a written step-by-step guide is usually enough. In the video, pay attention above all to three things: how airtight the tube sits, how fine the holes in the head are and how high the water level is. These points determine whether the bong draws cleanly.
Change the water after each use and rinse the bottle, tube and head thoroughly. For stubborn residues, a mixture of coarse salt and rubbing alcohol works well: fill it in, hold the openings closed, shake vigorously and then rinse with clean water. Metal parts can be briefly boiled. Regular cleaning keeps the taste neutral and prevents stubborn deposits.
Our Medusafilters conclusion
Building your own bong is an exciting and rewarding project. With the right materials, tools and a little skill, you can create a unique smoking experience. Remember that creativity and a willingness to experiment are important components in building and optimising your bong. Whether you prefer a simple bottle bong or a more elaborate construction, the right techniques and materials make the difference.
Use the tips and tricks in this article to improve your bong even further. Experiment with different herbs and methods to find the perfect smoking experience for you. High-quality products like the grinders and activated carbon from Medusafilters can help you prepare your herb optimally and thus ensure an even and pleasant smoking experience. Just take a look around our shop and discover the best tools and accessories for your DIY bong project.